Revitalize and Renew: The Ultimate Guide to Plant Repotting for Thriving Greenery
Introduction
Plant repotting is a crucial aspect of plant care that often gets overlooked. Many people assume that simply watering and fertilizing their plants is enough to keep them healthy, but neglecting to repot can lead to a variety of issues such as root-bound plants, nutrient deficiencies, and even root rot. In this comprehensive guide, we will walk you through everything you need to know about plant repotting to ensure your greenery thrives and flourishes.
Why Repotting is Important
Repotting is essential for several reasons. Over time, plants outgrow their pots, leading to root-bound conditions where the roots become tangled and compacted, restricting the plant’s ability to absorb water and nutrients. Repotting allows for the roots to spread out and grow freely, promoting healthier growth and overall plant health. In addition, repotting provides an opportunity to refresh the soil, remove any accumulated salts or mineral deposits, and check for pests or diseases.
When to Repot
Knowing when to repot your plants is key to maintaining their health and vitality. Some signs that your plant may need repotting include roots growing out of the drainage holes, slow growth, yellowing leaves, or the plant becoming top-heavy and unstable. In general, most plants benefit from repotting every 1-2 years, while fast-growing plants may need repotting more frequently.
Choosing the Right Pot
When selecting a new pot for your plant, it’s important to choose one that is slightly larger than the current pot to allow for growth, but not too large that it will hold excess water. Make sure the pot has adequate drainage holes to prevent waterlogging, and consider the material of the pot – terracotta pots are porous and allow for better airflow, while plastic pots retain moisture better.
Preparing for Repotting
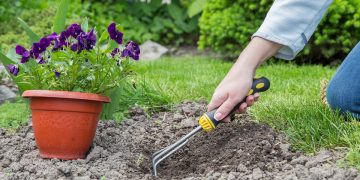
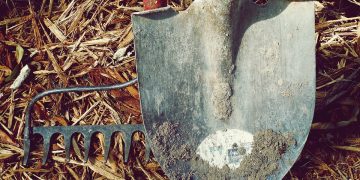
Before repotting your plant, gather all the necessary supplies – a new pot, fresh potting soil, a trowel or shovel, and gloves. Water your plant a day or two before repotting to make it easier to remove from the pot, and choose a well-lit and well-ventilated area to work in.
Repotting Process
1. Gently remove the plant from its current pot by tapping the sides and bottom of the pot to loosen the roots.
2. Inspect the roots for any signs of rot or pests, and trim any dead or damaged roots with clean scissors.
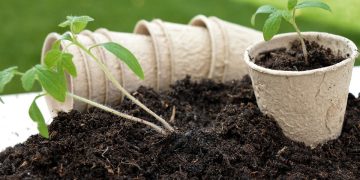
3. Fill the new pot with a layer of fresh potting soil, and place the plant in the center.
4. Fill in the gaps with more soil, making sure to leave some space at the top for watering.
5. Water the plant thoroughly, and place it in a spot with the appropriate light and temperature conditions for its species.
Aftercare
After repotting, monitor your plant closely for the first few weeks to ensure it adjusts well to its new environment. Water the plant as needed, but avoid overwatering, as this can lead to root rot. Fertilize your plant according to its specific needs, and keep an eye out for any signs of stress or disease.
Common Questions
1. Can I repot my plant anytime?
It’s best to repot your plant during its active growing season, typically in the spring or early summer.
2. How do I know if my plant is root-bound?
If you see roots growing out of the drainage holes, or if the plant is struggling to absorb water and nutrients, it may be root-bound.
3. What should I do if my plant is too big for a new pot?
You can prune the roots or divide the plant into smaller sections to fit into a new pot.
Conclusion
Plant repotting is a simple yet essential task that can make a world of difference in the health and vitality of your greenery. By following the steps outlined in this guide, you can ensure that your plants thrive and flourish for years to come. Remember to repot regularly, choose the right pot and soil, and provide proper aftercare to keep your plants happy and healthy.
With a little bit of time and effort, you can revitalize and renew your plants, creating a lush and vibrant indoor garden that brings joy and beauty to your home.


